
Nov 17, 2026
Weatherizing Manufactured Homes: Tips, Techniques, and Best Practices for Attic Insulation
Read pro tips on weatherizing manufactured homes and explore the three primary attic insulation methods: interior, top fill, and side fill.
By: Steve Dillehay
Weatherizing manufactured homes can be a challenging undertaking, particularly when it comes to attic insulation. The unique construction of these bowstring manufactured homes presents a variety of obstacles that require the right techniques, materials, and field experience to overcome.
At the Ohio Weatherization Training Center (OWTC), we are committed to helping our students navigate the challenges they encounter in the field. After more than 20 years in the weatherization industry, you learn a few things along the way. This article, based on a presentation I delivered at the 2026 National Home Performance Conference & Trade Show in Columbus, Ohio, shares some of those lessons and explores the three general methods used to insulate the attics of manufactured homes: interior, top fill, and side fill.
Each method has its advantages and disadvantages. Understanding the differences, knowing what to watch for, and applying proven field techniques can make a significant difference in the quality and success of a project.
1. Interior Insulation: Greater Control from the Inside
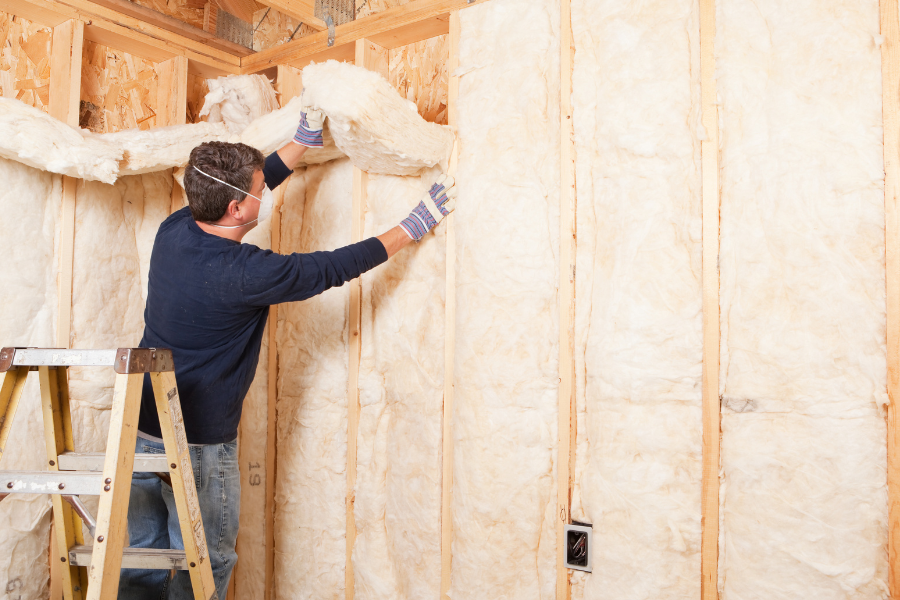
Of the three methods, interior insulation is my preferred approach whenever the home’s construction, existing conditions, and applicable program requirements allow for it.
One of the biggest advantages of insulating from the interior is the ability to control more variables throughout the process. Interior work can be performed year-round, making it less dependent on outdoor temperatures and weather conditions. By comparison, top fill and side fill methods require crews to work outside, where snow, ice, rain, and cold temperatures can create additional challenges. Temperature matters, too. Many sealants and polymer-based products perform and install more effectively within their recommended temperature ranges.
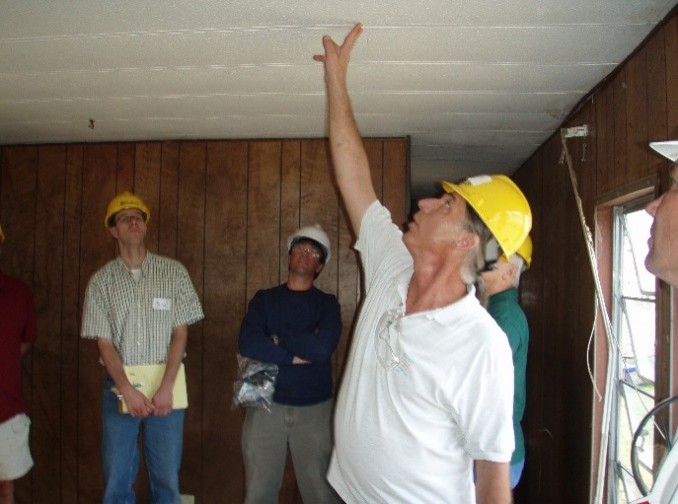
Another major advantage of the interior method is the ability to monitor the ceiling while insulation is being blown. This gives the installer a better opportunity to identify potential problems and respond to them as they arise. Having greater visibility and control throughout the process can help prevent issues and improve the overall quality of the finished job.
For these reasons, I generally favor the interior method when conditions make it a practical option.
Pro Tip: Use white chalk when snapping chalk lines. It makes cleanup much easier once the job is complete.
2. Top Fill: Working Safely and Getting the Details Right
When moving to the exterior of a manufactured home, we encounter the Top Fill and Side Fill methods. Both approaches require additional planning and attention to weather conditions, roof access, and the proper sealing of openings.
Safety Comes First
Always use appropriate walk boards and follow applicable OSHA requirements and site-specific safety procedures when working on a roof. Limit the number of people on the roof to those necessary to complete the work safely. A less crowded work area helps crews move more efficiently and reduces unnecessary risks.
Before installing insulation, remove the existing roof coating from the area where the patch will be applied, following the product manufacturer’s instructions and the applicable work specifications. Proper surface preparation is essential to achieving good adhesion between the existing roof surface and the new sealing material.
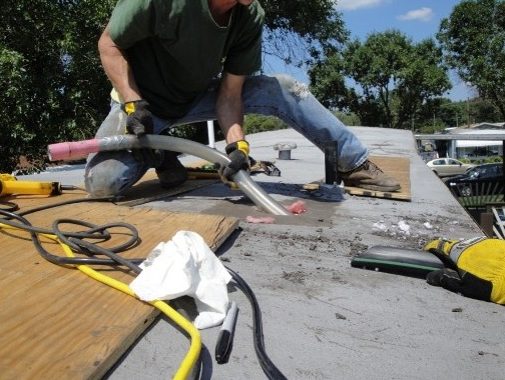
Pro Tip: When blowing insulation into an attic, use an appropriate adapter and vinyl tubing where compatible with the equipment and installation method. This can help reduce the risk of static shock.
Proper Patch Installation
One important detail to remember during top fill work involves the placement of lath screws: Do not drive the lath screws into the rafters.
The screws should secure the patch to the metal roof material. It is also important to alternate the placement of screws around the patch rather than positioning them all in a uniform line. Proper screw placement helps the patch sit flat against the roof surface, reducing puckering and helping create a smooth, secure finish.
3. Side Fill: Scaffolding, Blocking, and Attention to Detail
Side fill insulation presents many of the same challenges as top fill, particularly when it comes to outdoor working conditions. Weather and temperature will always be factors, and crews must plan accordingly.
When conditions are favorable, however, side fill is a commonly used method in weatherization. To help crews work safely and achieve consistent results, there are three key practices we emphasize.
Tip 1: Use Scaffolding
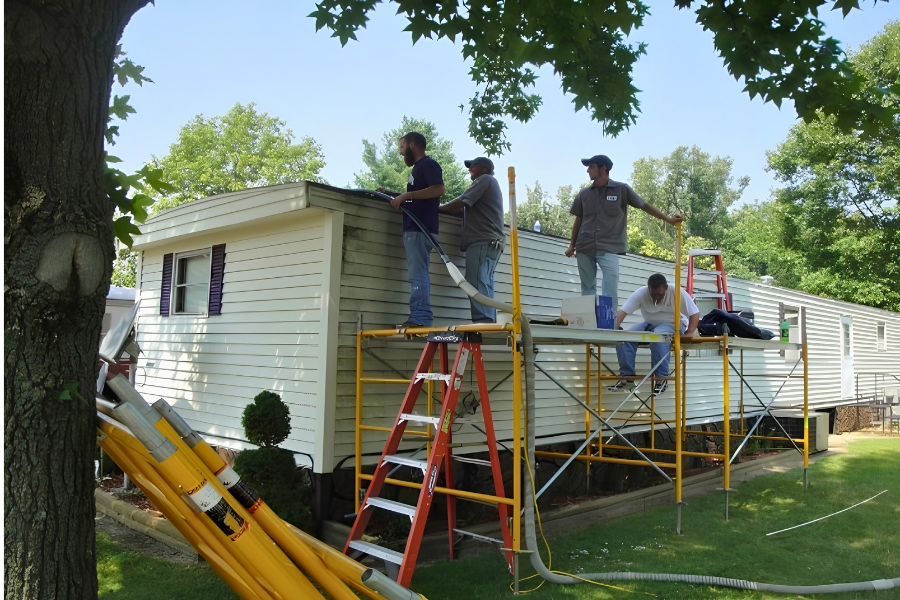
Whenever appropriate for the job, use properly erected scaffolding to improve access to the work area. Scaffolding can make the job safer, more efficient, and easier to manage by providing a stable working platform.
As always, equipment must be suitable for the task, properly set up, and used in accordance with applicable safety requirements.
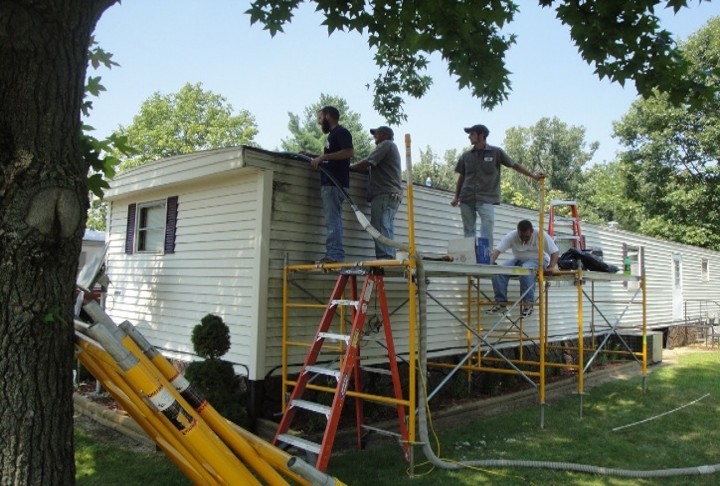
Tip 2: Use Blocking to Guide the Blowing Tube
Blocking is a useful technique for helping guide the blowing tube across the roof to the intended location. As illustrated in the photos below, it can help crews position the tube where it needs to go during the side fill process.
However, there is one critical step that must not be overlooked. Once the tube has been guided to the other side of the roof, remove the blocking before beginning to blow insulation.
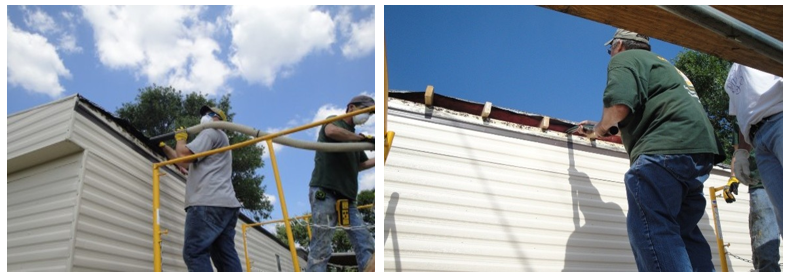
The metal roof must be resting against the rafters as intended before insulation is installed. Leaving blocking in place can create a gap between the metal roof and the rafters, potentially affecting the installation and the finished result.
This is a simple step, but it is an important one. Taking a moment to verify the roof’s position before blowing insulation can help prevent avoidable problems.
Tip 3: Choose the Correct Sealant
The materials used to seal patches on manufactured-home roofs are just as important as the installation technique.
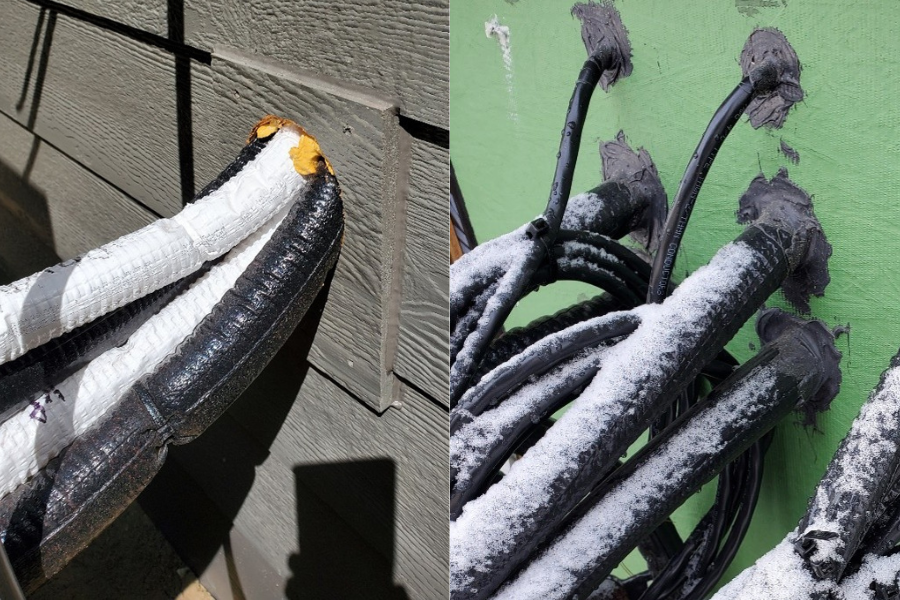
Pro Tip: For Top fill and side fill jobs, NEVER use the following products as patch sealants:Black Jack asphalt sealant and silicone sealant.
Instead, use an appropriate co-polymer or tri-polymer sealant, such as Lexel or Proflex, provided the specific product is compatible with the roof material. These products are available through commonly used supply outlets.
Always follow the manufacturer’s instructions for surface preparation, application, and temperature requirements. Using the correct sealant helps support proper adhesion and a durable, weather-resistant repair.
Bringing It All Together
Weatherizing manufactured homes requires more than simply knowing how to install insulation. It takes sound judgment, attention to detail, an understanding of the home’s construction, and a commitment to doing the job safely.
From choosing the right time to work outdoors to preparing roof surfaces, installing patches correctly, using blocking appropriately, and selecting compatible sealants, these practical lessons can help crews avoid common mistakes and produce better results.
Most importantly, never be afraid to ask questions. If you are unsure about a procedure, material, or installation detail, consult your crew leader, monitor, or supervisor before proceeding. Asking questions is a sign of professionalism, and it can prevent costly mistakes while helping keep everyone safe.
At the Ohio Weatherization Training Center, we believe that sharing knowledge and experience makes the entire weatherization community stronger. We hope these tips help you in the field, make your projects run more smoothly, and support safe, high-quality work.
For additional information and training resources, visit the OWTC website at or contact us via email.
Work safely and never stop learning!

Steve Dillehay is a Training Coordinator II at the Ohio Weatherization Training Center, bringing over two decades of experience in the weatherization field. Since beginning his career in 2000, Steve has developed extensive expertise in inspection, heating, and manufactured housing. Steve has significant experience in manufactured homes and inspection curriculum development, designing and refining training programs that support technical excellence, compliance, and best practices across the field. Contributions to this article were also made by Devon Cooper and Jesse Dillon.